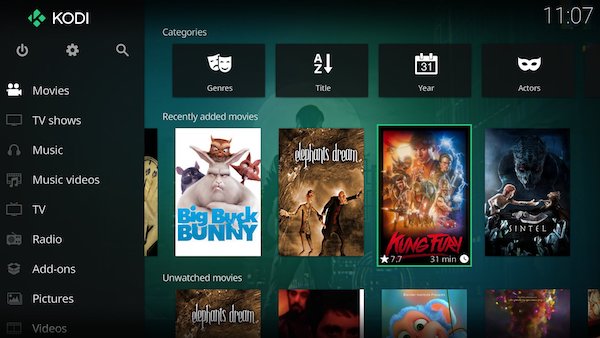
Non-standard apps like Kodi have often been restricted from being uploaded or downloaded via tvOS App Store, owing to stringent Apple policies on third-party apps. Despite Kodi being an extremely popular media player app, it is imperative to install it via sideload method using Xcode, as it does not support traditional installation methods.
The latest version of Kodi (Kodi 17) is compatible with the fourth-generation Apple TV aka Apple TV 4, which is running tvOS 9.0 or above. However, it is recommended to try installing it on the latest version of tvOS aka tvOS 10 for maximum compatibility.
Users, who are running tvOS 9.1 or upwards on their Apple TV, will have to install Xcode 7.2 or higher on the Mac. On the contrary, you need at least tvOS 9.0 in order to install Xcode 7.1. Other versions of Xcode are recommended for this procedure.
You will also need a USB-C to USB-A cable in order to connect your Apple TV 4 to your Mac computer via USB.
Downloads Required
Xcode for Apple TV 4 via Mac App Store
iOS App Signer utility for Mac
Kodi deb file for tvOS (latest version)
Note: You can sideload apps using free versions of Apple Developer accounts, which will last for just one week. You will need to re-sign and re-sideload the app in order to continue using it after the expiry date. However, a full developer account ($99) will let you sign and sideload any app for up to one year.
Steps to install or sideload Kodi on Apple TV 4 without jailbreaking
Step 1: Connect your fourth-gen Apple TV to your Mac with USB-C to USB-A cable.
Step 2: Open the Xcode app on your Mac and choose 'Create a new Xcode project' from the main Xcode screen. Now select tvOS > Application in the left menu and then choose Single View Application, and finally hit Next.
Step 3: Type in the Product Name and Organisation Name of your choice and the bundle identifier field should auto-populate, once you have defined Organisation Identifier. For instance, you can enter "com.injen" as your Organisation Identifier field and the Bundle Identifier will now become "com.injen.kodipro" wherein kodirpro will be your product name.
Step 4: After you have filled all the necessary fields, just hit Next to continue and then save the project to a desirable location like your computer's desktop.
Step 5: On the main Xcode window below the Identity sub-section, you will notice an error message saying, "No matching provisioning profiles found." Just hit the Fix Issue button below the warning message and the issue will be resolved.
Step 6: Now sign in to Xcode app using your Apple ID and password that's registered to your developer account. Now click the Add button once you have filled up your login credentials. If prompted, just select Apple ID from the drop-down box and click the Choose button to continue. Xcode will now process the data and create a provisioning profile.
Step 7: Then choose Apple TV from the ensuing pop-up window and then launch the iOS App Signer app.
Step 8: Once the App Signer app is open, choose an appropriate signing certificate. Then select the name of the project you created earlier using Xcode from the drop-down menu in the app. You can now browse and add the Kodi deb file.
Step 9: App Display Name field can be left blank, if you do not wish to rename the app on tvOS Home screen.
Step 10: Hit the Start button and the iOS App Signer will compress all necessary files together and generate an IPA file once the packaging process completes.
Step 11: Return to Xcode main menu and then choose Devices option from the ensuing Window menu. Now select the connected Apple TV device from the left-hand section and hit the "+" button within the main interface under the Installed Apps heading.
Step 12: Browse and select the Kodi IPA file which was created in Step 10, by using the iOS App Signer from Step 10.
That's it. The package is now successfully installed on your Apple TV 4 and the Kodi app icon should appear on the home screen.
[Source: sideloadappletv]


